A Beginner's Guide to Starting an Ant Farm
Ok, so you're interested to start an ant farm. Maybe your kids have been begging you for a pet but you're not ready to take on the full time job of a puppy or kitten...
An ant farm could be the perfect low-maintenance solution.
But it can be daunting and feel a little overwhelming. Where do you start? How does this whole ant keeping thing work?
Ant farming, also known as ant keeping or myrmecology, has gained popularity among nature enthusiasts and curious minds. Many of you may have even had an ant farm as a kid in the 70's and 80's. These were typically thin plastic containers that you filled with sand. You went and kidnapped some worker ants from the garden, popped them in and watched as they dug tunnels. But you probably lost interest as your ants began to die, their tunnels collapsing and nothing much else happening. Am I right...?
Ant keeping is making a resurgence currently, along with flares and crop tops... but this time we are doing things properly. No longer are ant farm just cheap plastic toys. They are legitimate pets which, if cared for properly, can grow and thrive for years.
Starting an ant farm with a queen ant is a fascinating and educational experience that allows you to observe the intricate lives of these industrious insects. In this guide, we will take you through the steps to embark on your ant-keeping journey.

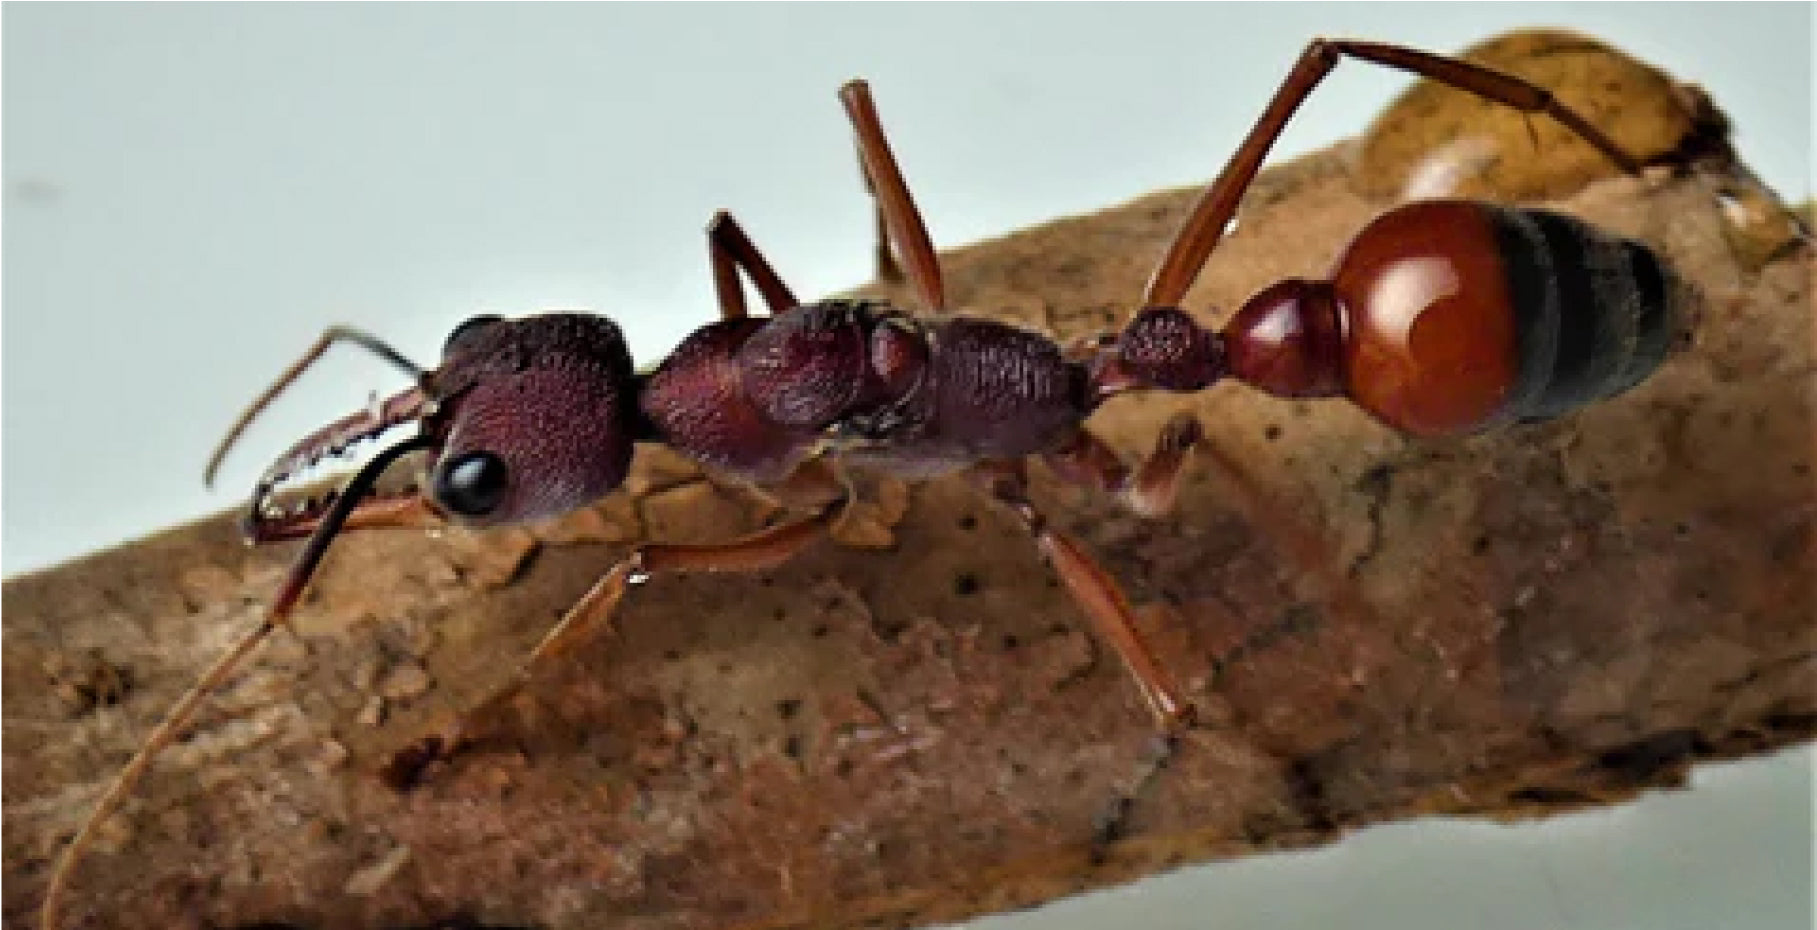
Step 1: Research and Choose Ant Species: Before diving into ant keeping, it's essential to research different ant species. Each species has unique characteristics and behaviours. We only sell native Australian ants. Some popular choices for beginners include Aphaenogastor longiceps (funnel ants) or Camponotus consobrinus (Banded sugar ants). Understand their habitat preferences, dietary needs, and colony structure to provide the best care.
Step 2: Gather Necessary Supplies: To start your ant farm, gather the following supplies:
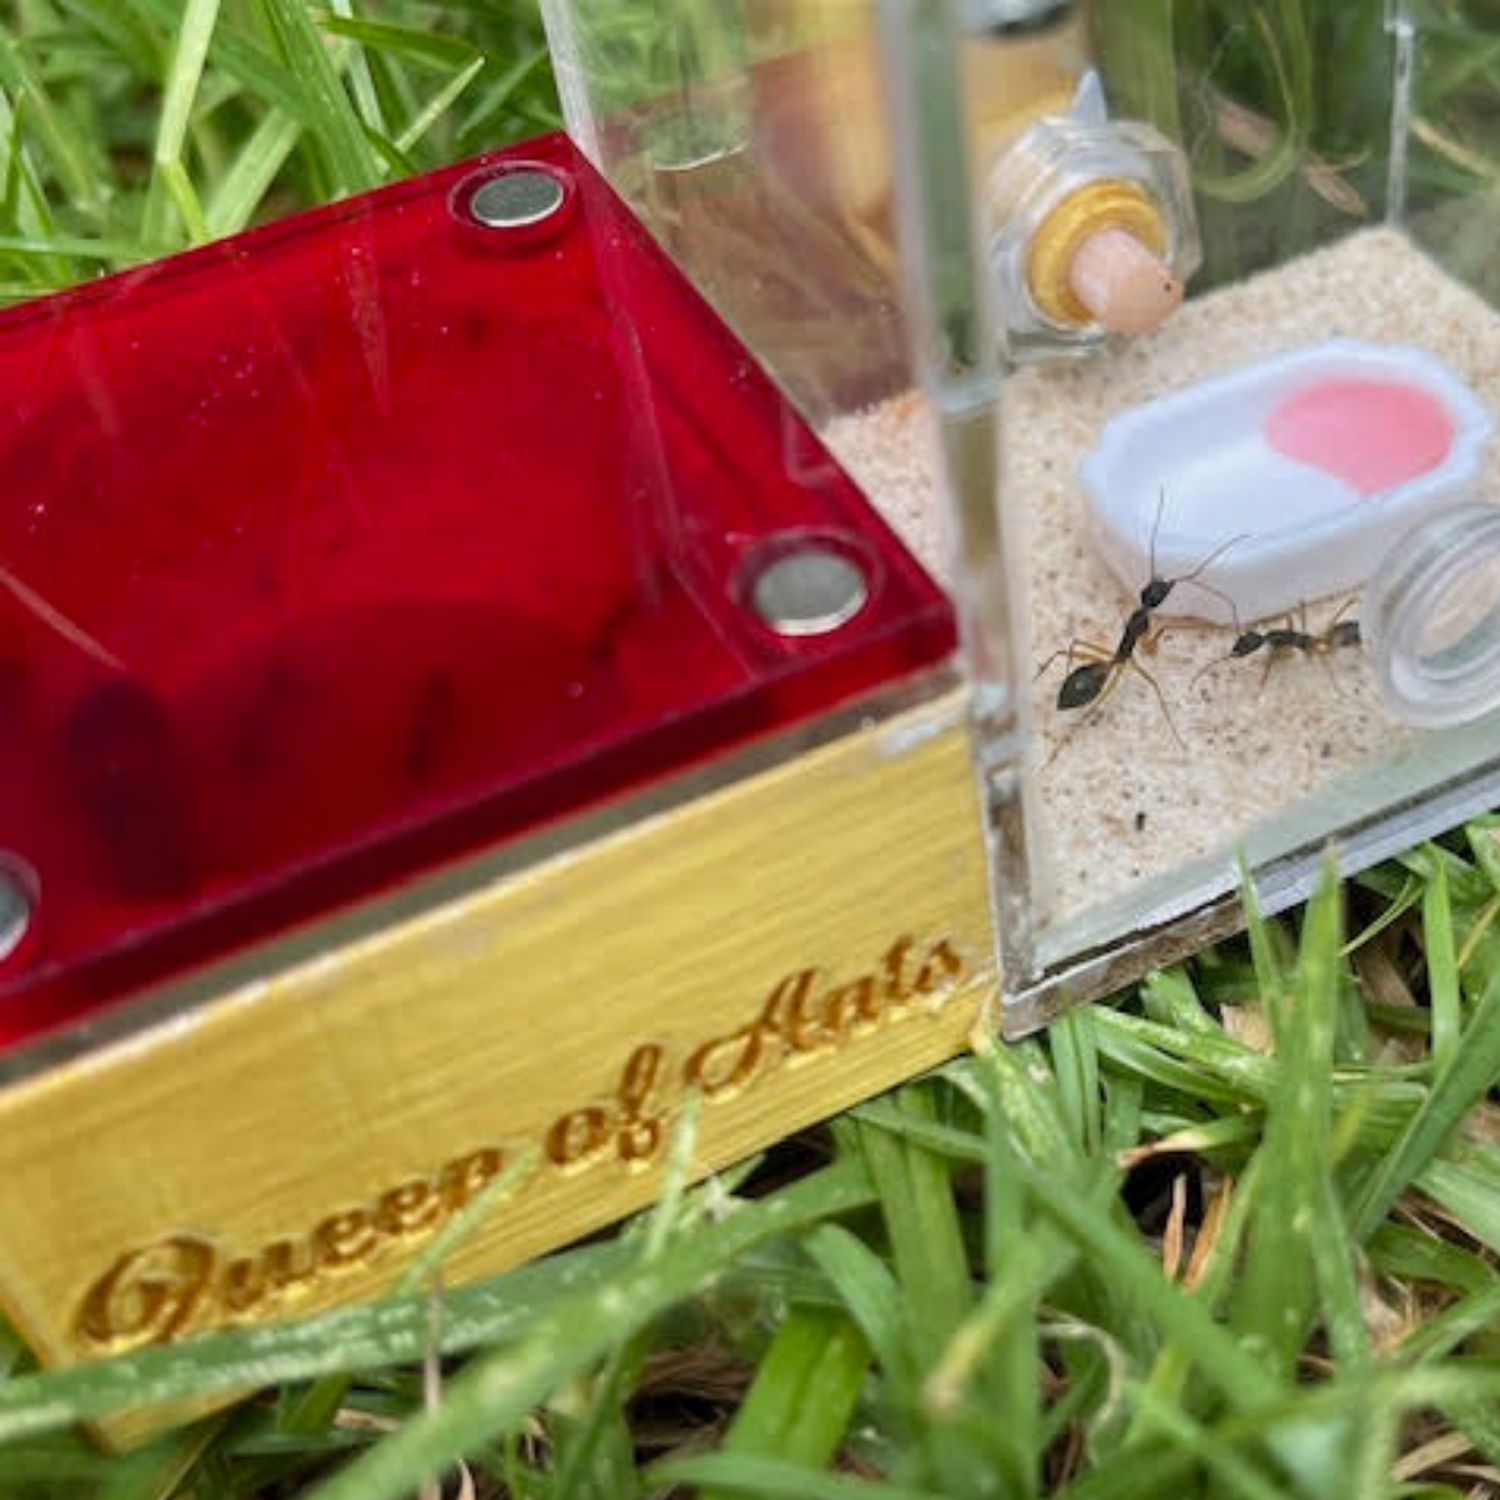
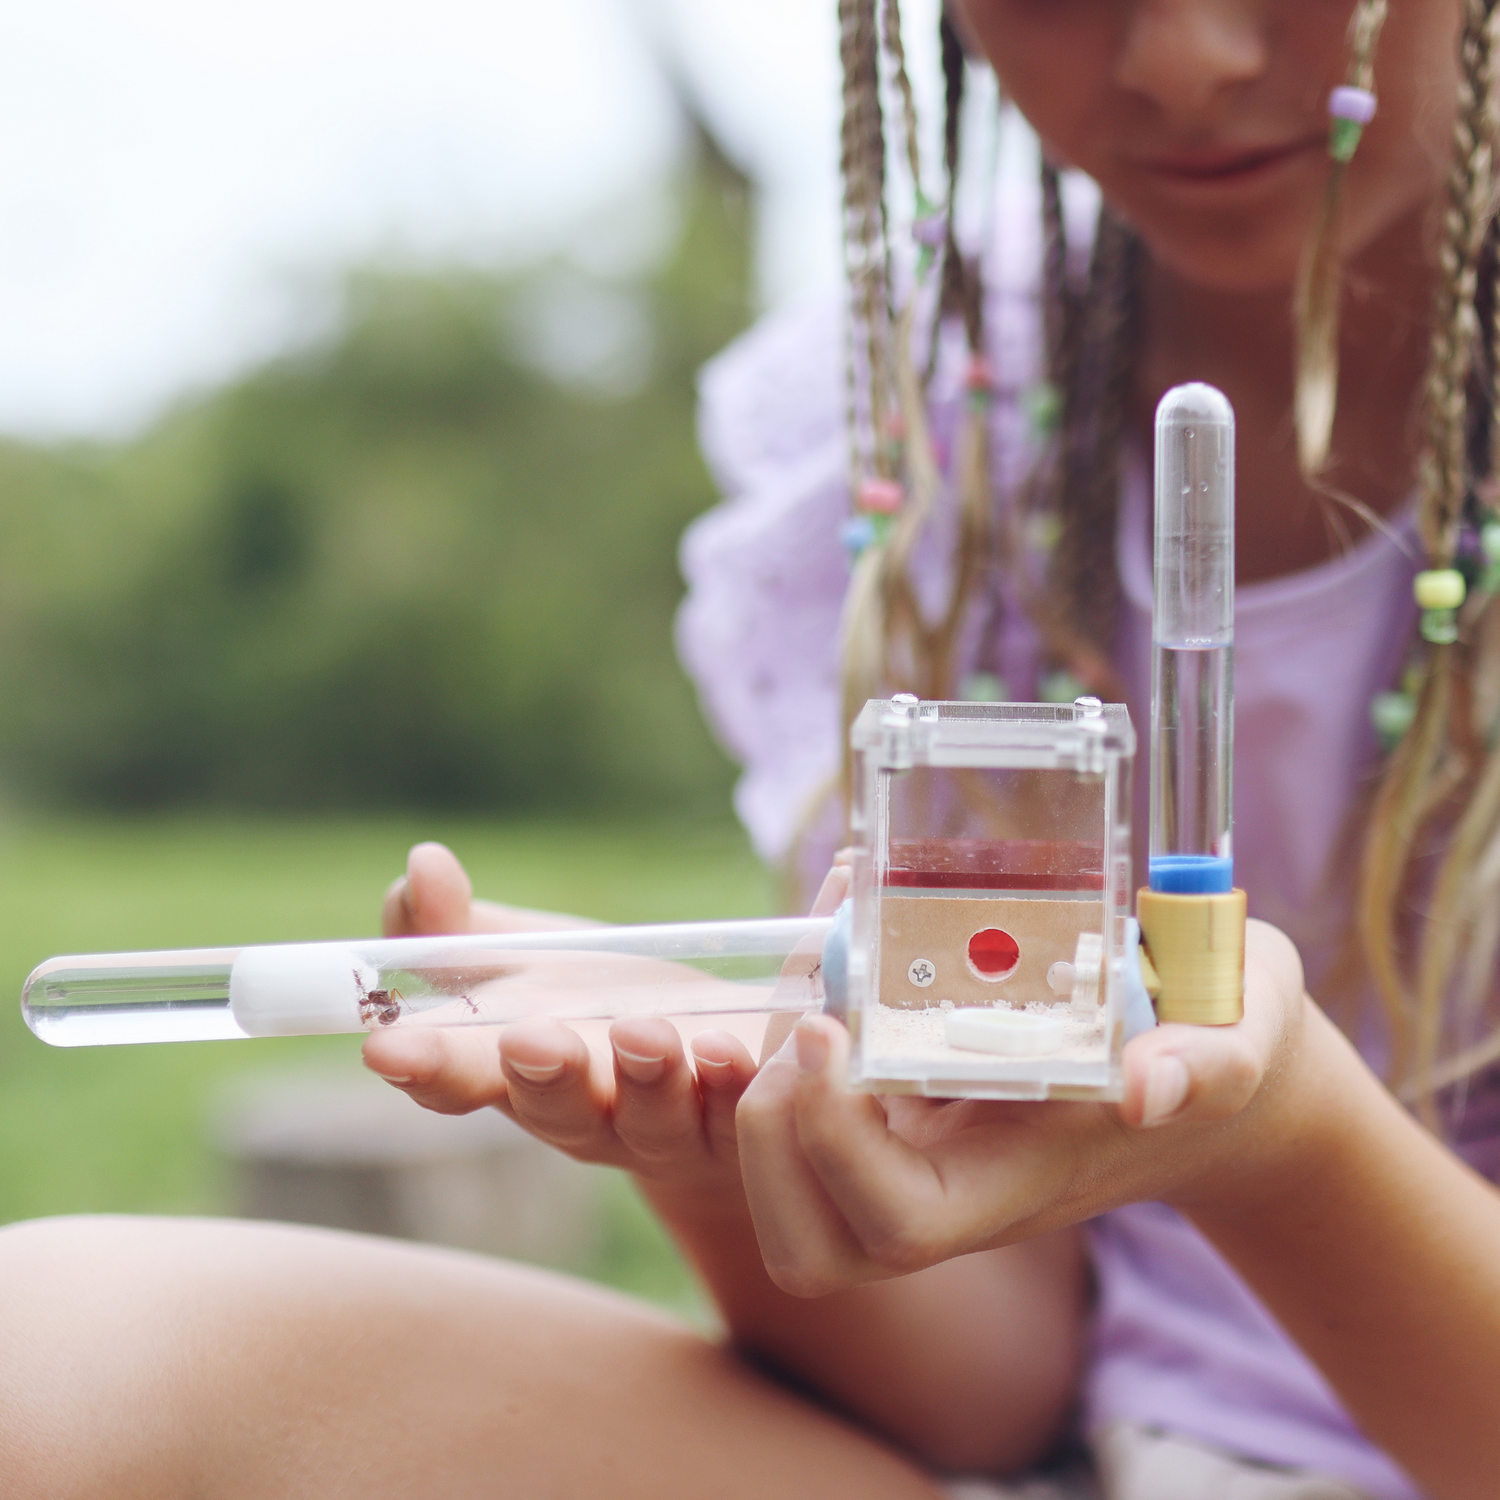
We have put together a Starter kit which contains everything you need to raise your ant colony, including an ant farm (formicarium), ant food, ant sand and accessories.
- Ant Farm Container: Also known as a formicarium (specially designed ant farm). Specially designed to keep your ants comfy, provide sufficient ventilation and allow you to care for and observe your growing colony.
- Substrate: Suitable ant sand that has been heat treated to reduce the chance of unwanted pests and mould. Ants will use the sand to help spin their cocoons and behave as they would in the wild. (note that our ant farms have pre built tunnels for your ants as it is almost impossible to keep the moisture levels correct to prevent the tunnels from collapsing.
- Nesting Material: Provide materials like small rocks, hollow twigs, or small tubes to simulate nesting spaces. You can decorate your nest with ornaments and some people even like to create themed ant farms!
- Feeding Dish: Use a shallow dish for providing food. This could be a small open dish (super cute) or a liquid feeder.
- Water Source: Ant require water at all times. We recommend having 2 water sources available just to be safe. This could be a built in water sponge system in the ant nest, a water filled test tube set up (the best way to start your ant farm), or an extra test tube filled with water and blocked with cotton wool.
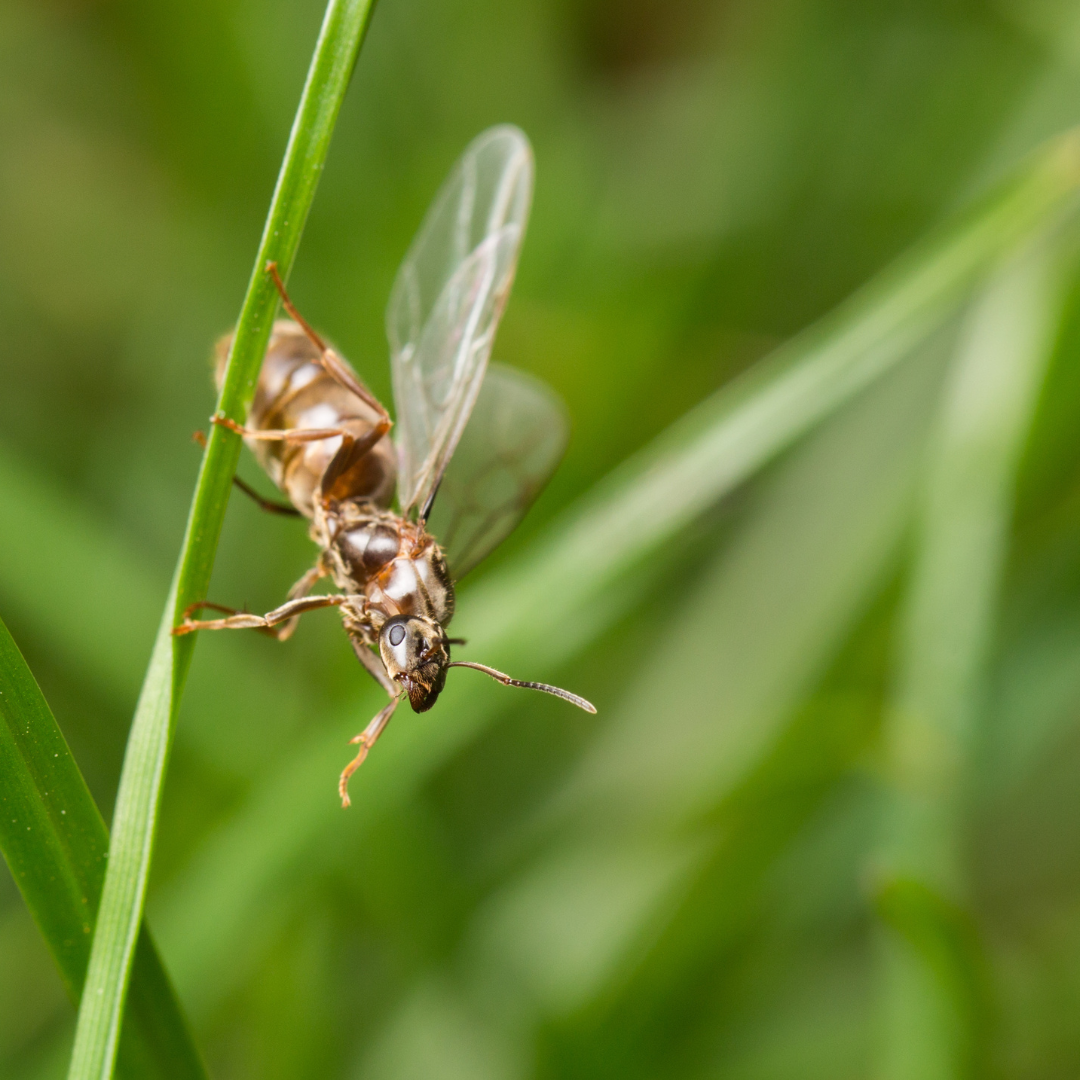
Step 3: Obtain a Queen Ant: Acquiring a queen ant is a crucial step. You can either purchase a fertile queen from us, or you can find them during their nuptial flights, typically in the spring or summer. Look for queens that have removed their wings, as they are in the process of starting a new colony. Once you find a queen, gently catch her in a ventilated container, ensuring not to harm her.
Queen ants are amazing as one they have mated in the wild during their nuptial flights, they are fertile for life! They store the sperm in a special organ called a spermatheca, and can selectively fertilize eggs for the rest of her life!
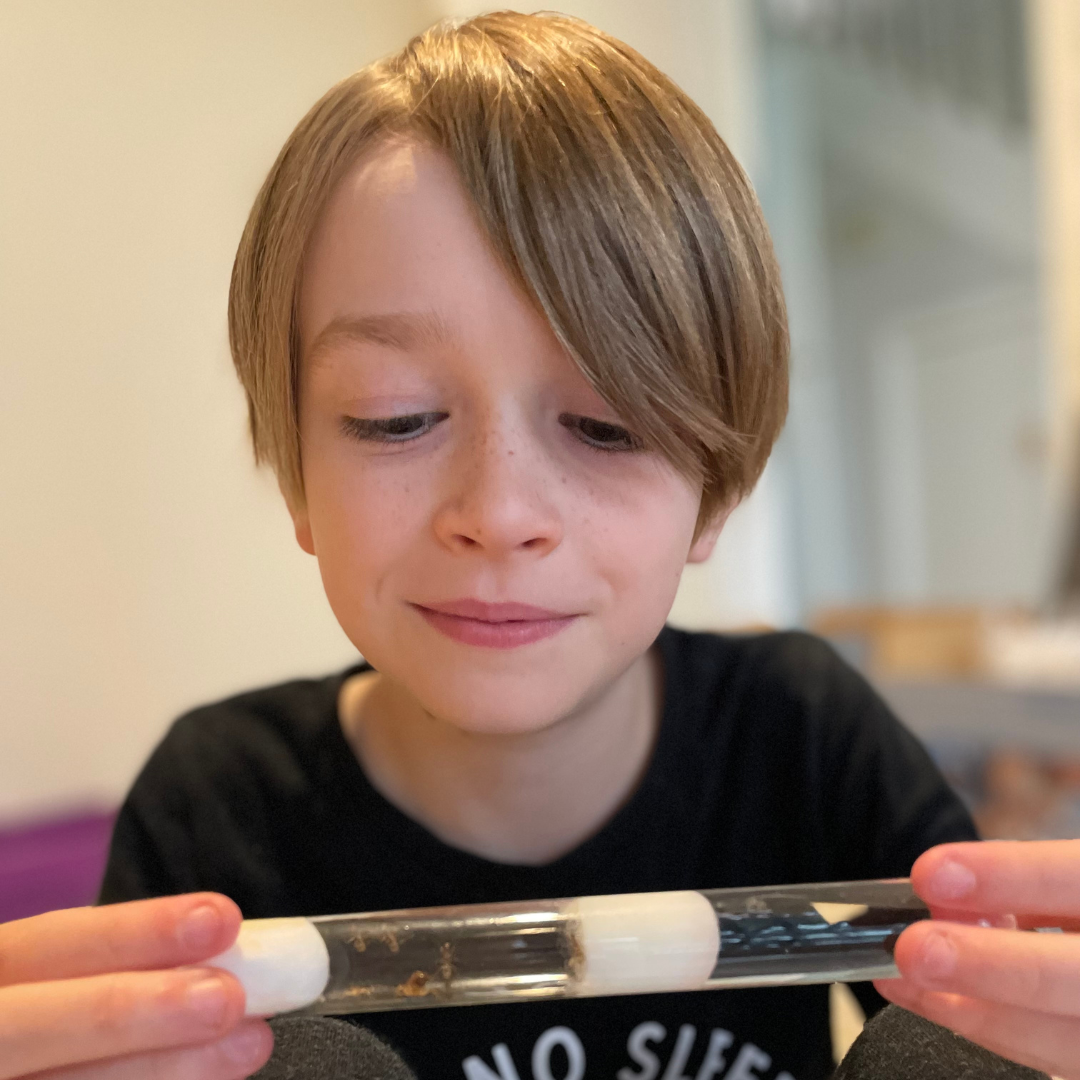
Step 4: Patience and Observation: Ant keeping requires patience, as it takes time for the colony to grow. Initially, the queen will lay eggs, and the first workers will emerge. Most queens will not need feeding until their first workers arrive. It is best to keep them in their test tube set up until it is really packed full of workers.
Ants do not like having too much space and prefer to be cramped in and walking all over each other. The longer you wait, the better. Moving your ants too soon will cause them to stress and your colony might fail. Observe their behaviour, feeding habits, and interactions. Resist the temptation to disturb the colony unnecessarily.
Step 5: Feeding and Maintenance: Once your queen has her first workers, provide a balanced diet for your ant colony, including a liquid sugar carbohydrate, such as 'Ant Juice' and a source of protein. This can be pieces of feeder insects, ant mousse, protein jelly or scraps of ham/chicken etc. Clean the ant farm regularly, removing any debris or mould. Ensure the humidity levels are suitable, and adjust the setup as needed. Here is a video:
https://youtu.be/fVtqrYY2_JM
Step 6: Set Up the Ant Farm: Once your test tube is packed full of workers (wait as long as you can!), you can prepare the ant farm by adding the substrate, nesting materials, and a water source. Transfer your colony into the setup, making sure to provide a dark and quiet environment to reduce stress. Monitor the queen regularly to ensure she is adjusting well to her new environment. Here are a couple of videos to show how to do this:
https://youtu.be/oUnKm3FOOUw
https://youtu.be/9OtWYCV5vpU
Conclusion: Starting an ant farm with a queen ant is an exciting venture that offers a unique glimpse into the world of these remarkable insects. By conducting thorough research, setting up a suitable environment, and practicing patience, you can create a thriving ant colony and gain a deeper appreciation for the intricate social structures of these tiny creatures. Happy ant keeping!